- The channels on which notifications will be sent.
- Content of the notifications.
- Integrations/rules to be used to send a notification.
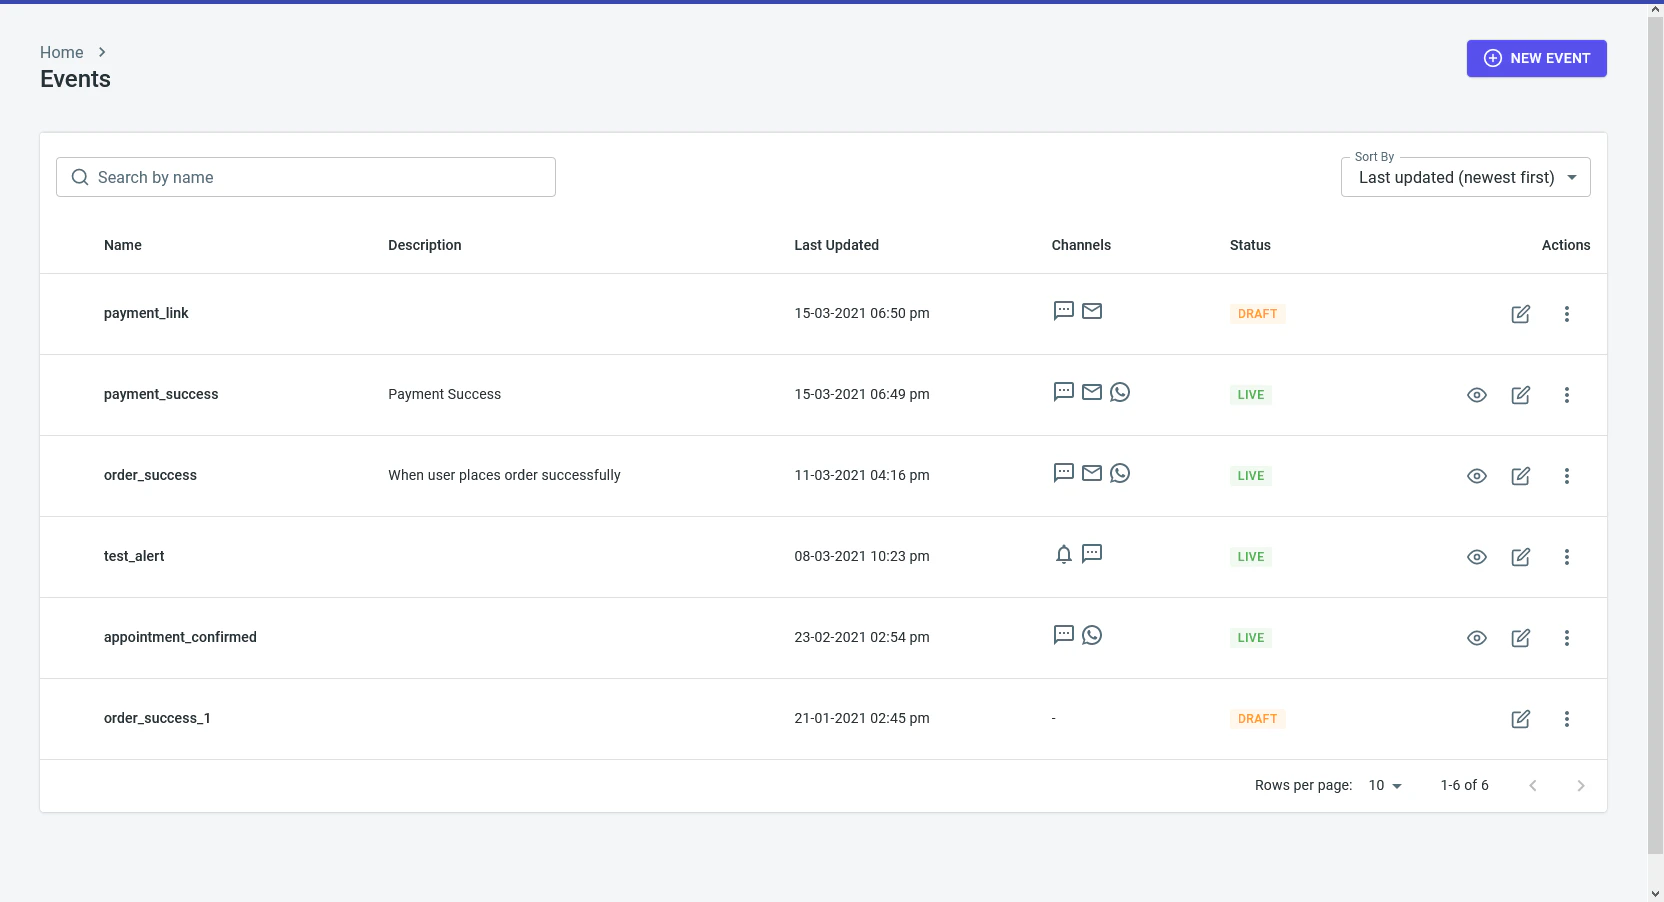
Creating a New Event
Step 1. Event Name
An event has 3 parts - a name, channels & routing and templates. When you start creating an event, it will be saved in aDRAFT state, until you finish
configuring all the parts.
Step 2. Event Channels
Define the channels you want to send the notifications on. Suppose for example, we want to send a login OTP (One time password) to our users. We configure this in the following way: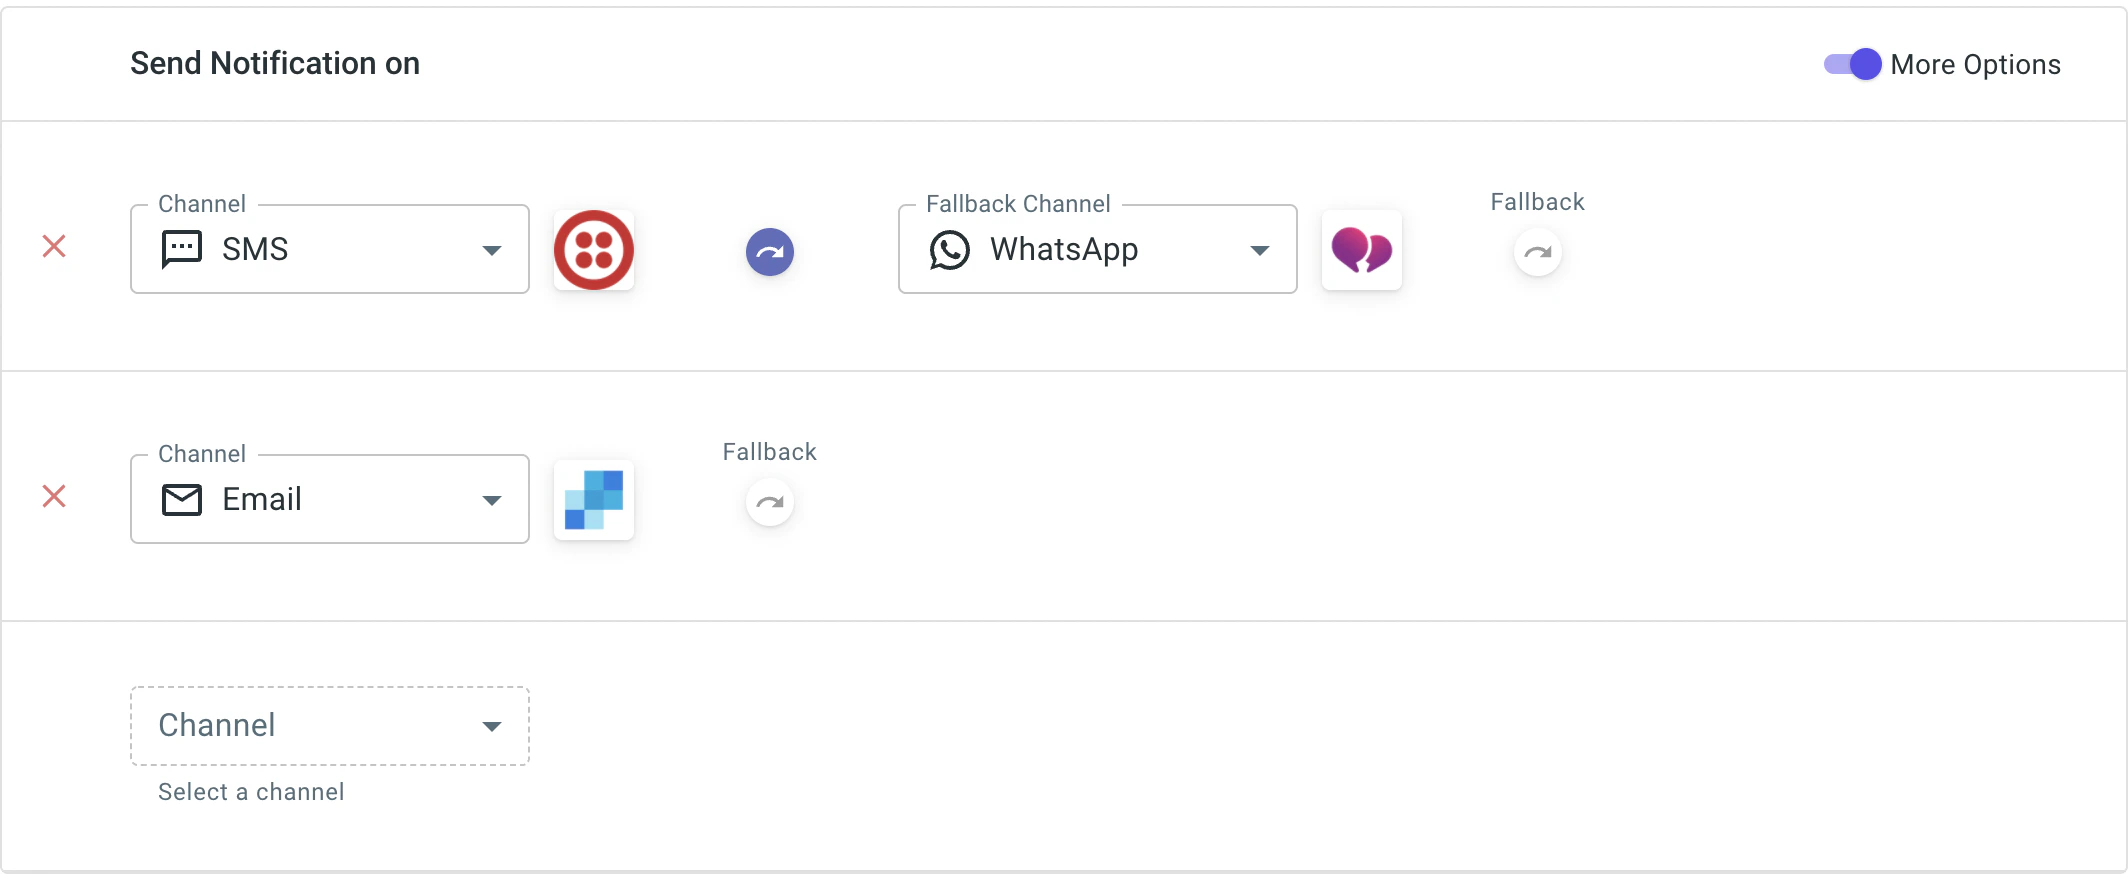
Step 3. Event Templates
Once the channels are defined, the final step is to configure the notification content for each channel. We have a channel wise doc on templates. Check them out below 👇 Dynamic Fields Our channel wise template docs above cover this in more detail. In brief, you can pass dynamic or custom data in the templates like Invoice ID, user name, tracking link etc by specifying them within handlebars{{ user_name }}. Raven
uses Handlebars.js to
parse the template and all handlebar operations are supported like nested
objects, #if, #each etc. You will need to pass the value of the variables in the
data object of Send Event API.